Auto-Apply Coupon Code At Checkout
Description
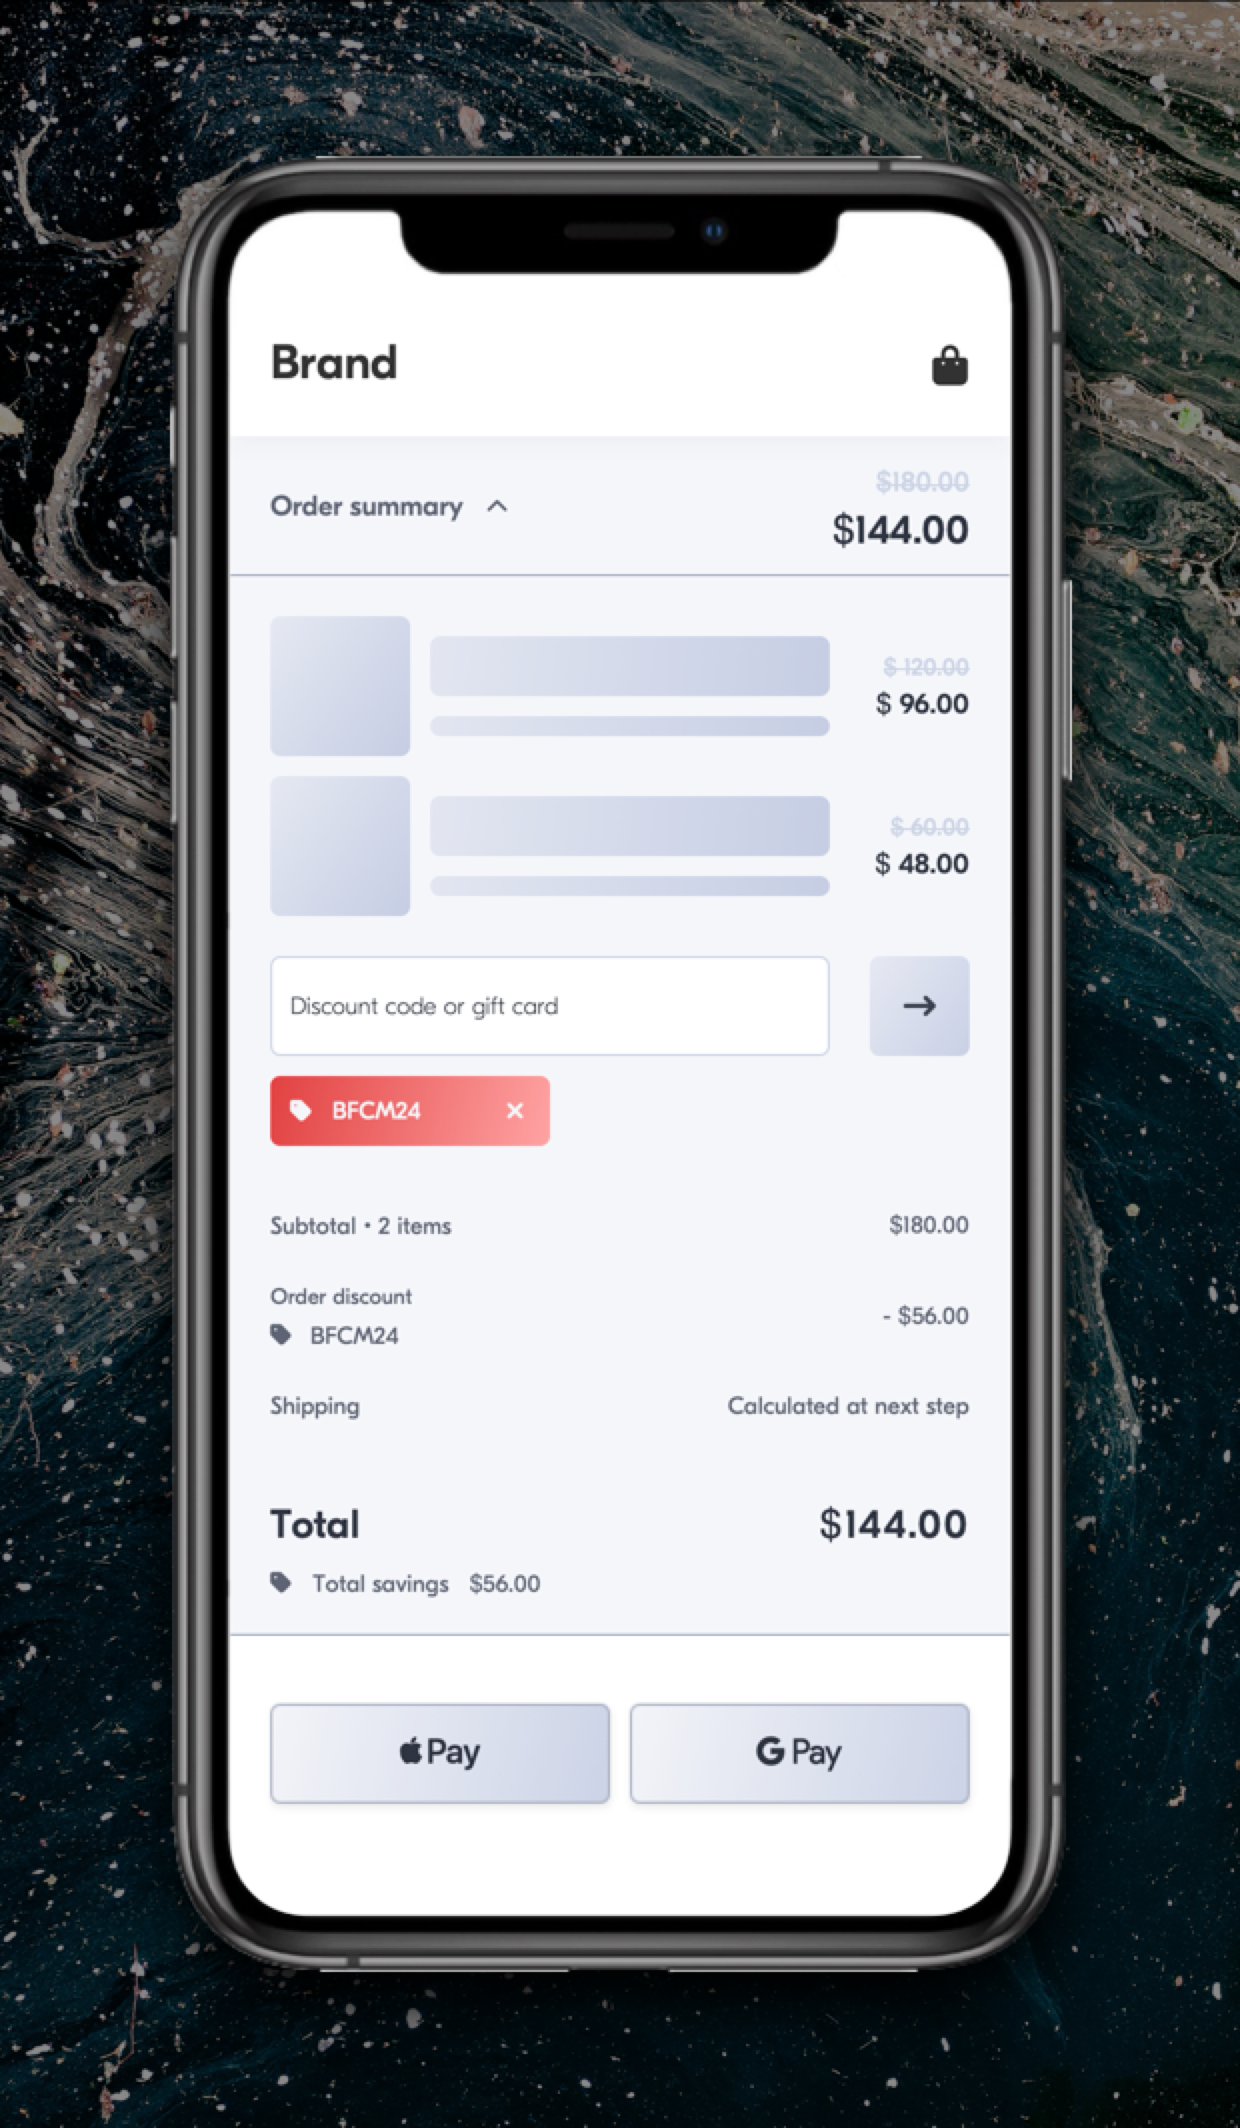
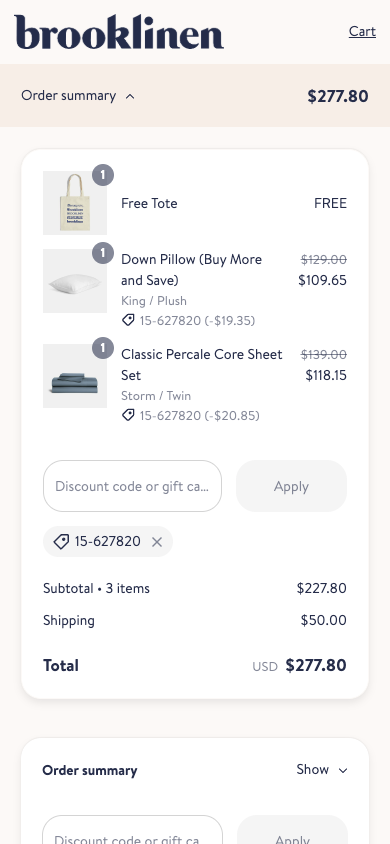
Streamline the checkout process for shoppers by automatically applying the most suitable coupon code for their purchase.
Hypothesis
Automatically applying a coupon code at checkout, even without the shopper asking for it, creates a sense of ease, trustworthiness, and transparency for the shopper.
Prediction
By creating a sense of honesty and reliability, we elevate the shopping experience and foster customer loyalty.
 |
Potential uplift of 10% to 18% in CR. |
Setting up the experience on Visually:
BUILD TIME: 3 MINUTES
Step 1 - Set the scope
Start by defining the conditions required for the experience to activate.
Please keep in mind that the reports will gather data based on the defined scope, so accuracy is key. Setting a scope larger than required can dilute the data by including sessions which weren’t actually impacted by the changes.
Audience → make sure this parameter is set to ‘All Visitors'.
In case the coupon code is only eligible for a specific segment, make sure to define it in the audience pane to ensure an accurate data report.
Pages → set to ‘Checkout Page’.
If your store uses Shopify checkout extensibility, you’ll need to add a content block via your Shopify’s dashboard.
For more information on setting checkout extensibility, refer to this article.
Devices → make sure this parameter is set to 'All Devices'.
Step 2 - Set the changes
Set the script → select an available content block → select ‘Actions’ → select ‘Auto Apply Discount’.
This widget will not add any visible blocks on the checkout page itself.
Configure the script → select ‘Manual Input’ → add the relevant coupon code to the text field → click on ‘Save’ when you’re done.
Apply change to all devices → click on the block’s options pane → click on ‘Target All Devices’.
Save the experience → click on 'Save' → assign a name to your experience → provide a description (optional) → click 'Next' to confirm.
Step 3 - Preview & QA
To ensure that the experience functions correctly before publishing, we strongly recommend conducting a quality assurance (QA) session using our ‘Preview’ feature.
- Click on ‘Preview’ → ‘Share’ → ‘Copy Link’
- Use this link on all devices separately for more accurate insights. For optimal results, we suggest running this QA in incognito mode to eliminate any cookies that may influence the testing process.
- For additional guidance on performing quality assurance with Visually, please refer to this article.
Step 4 - Finalize & Publish
We highly recommend conducting an A/B validation to evaluate the impact of this experience on your store's performance.
To begin → click on ‘Next’.
Initiate an A/B test → navigate to section 3 and select ‘Yes, sure’.
Name your variation(s) → we suggest naming variations based on the hypothesis you’re testing and how they differ from each others, such as:
- Original / Welcome10
- Original / BFCM
- Welcome10 / BFCM
Set the allocation → we suggest starting with a 50/50 split to obtain results quickly and reliably.
- If you prefer to conduct a preliminary sanity check, consider a 80/20 allocation for initial validation, then transition to 50/50 for comprehensive testing.
- Keep in mind that achieving statistical significance may take several days, especially with lower allocations. For guidance on analyzing and monitoring your A/B tests, refer to this article.
Set the metric goals → click on ‘+’ to select goals → for this experience, we recommend the following KPIs:
- Conversion Rate (CR)
- Per Session Value (PSV)
- Profit
- Returns Per Session
Set the primary metric → we recommend setting ‘Conversion Rate’.
Send metrics to GA4 (optional) → check the box for ‘Send events to Google Analytics’.
Publish the experience → click on ‘Publish’ and confirm when ready.


 Watch our step-by-step walkthrough video
