Coupon Code Reminder: Cart
Description
Remind shoppers about an eligible coupon code, in their cart.
Hypothesis
Shoppers are increasingly mindful of their budgets, making coupons an effective tool for driving conversions. While shoppers usually know about their available coupons early in their purchasing journey—through notifications or emails—they often forget the details of these promotions or the coupon codes by the time they reach checkout.
Prediction
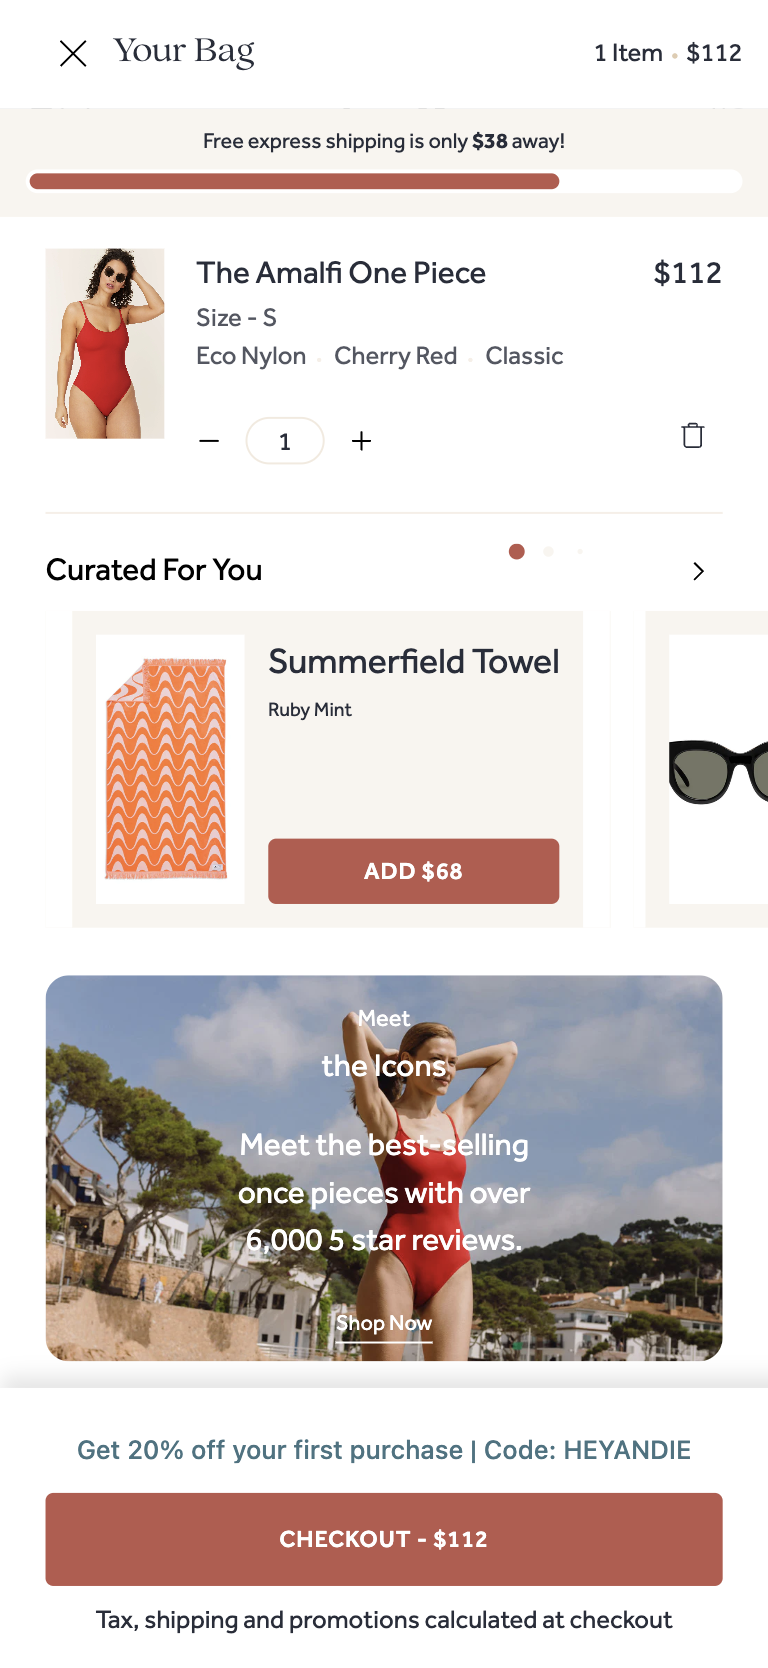
Displaying an eligible coupon code in cart will nudge more shoppers to checkout and purchase, while also fostering loyalty and trust.
 |
Potential uplift of 8% to 10% in CR. |
Setting up the experience on Visually:
BUILD TIME: 2 MINUTES
Step 1 - Set the scope
Start by defining the specific conditions and parameters required to trigger the experience.
Please keep in mind that the reports will gather data based on the defined scope, so accuracy is key. Setting a scope larger than required can dilute the data by including sessions which weren’t actually impacted by the changes.
Audience → select 'Custom Audience' → set the following condition:
CART ITEMS COUNT : GREATER THAN : 0
Feel free to modify the audience parameters based on the specific coupon/strategy to ensure that only eligible sessions are included. This will help you gather more precise data and insights.
Pages → ensure that this parameter is set to 'All Pages'.
Devices → select 'Mobile Only'
Trigger → ensure that this parameter is set to 'Page Load'.
Step 2 - Set the variation
Set the editor → open the cart drawer and make sure that the preview window displays at least one item in the cart.
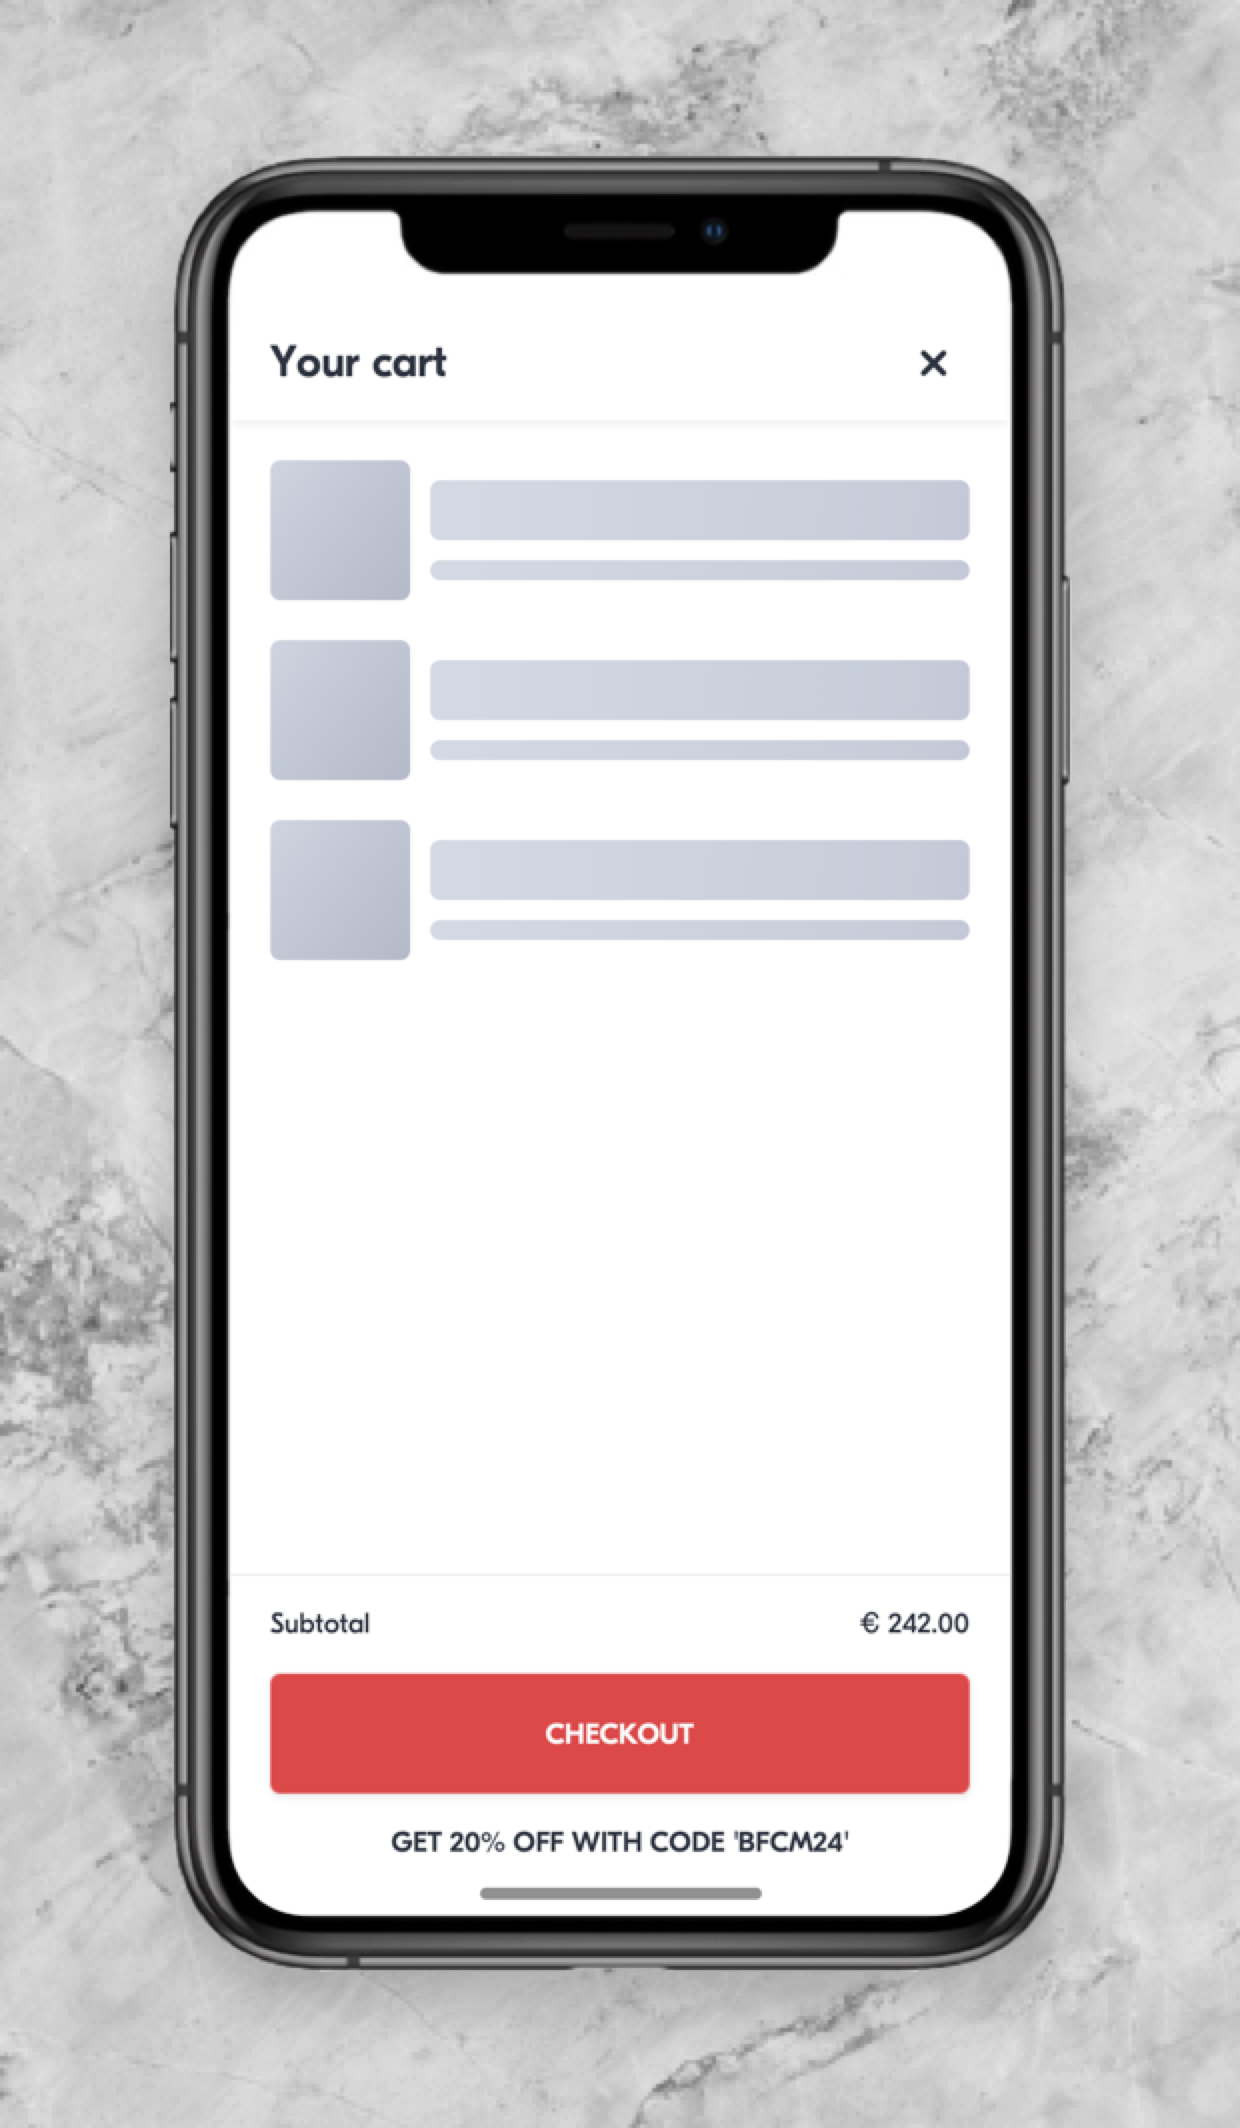
Add a text block below the CTA → hover above the checkout button -> select the position below -> 'Content Blocks' → 'Text'.
- Add the reminder text (for example “GET 20% OFF WITH CODE 'BFCM24'”, or “20% APPLIED AT CHECKOUT”).
- (Optional) We recommend setting the font weight of the code itself to BOLD to enhance its visibility and draw the user's attention effectively.
Tailor the design → align the changes’ design to fit your brand identity.
We recommend saving your stylings for future use. For more information on reusing styles, refer to this article.
Apply changes to all pages → ensure that all modifications are set to display on 'Mobile All Pages' so that the experience is consistently applied across the site.
Finalize → click on 'Save', assign a name to your experience, provide a description if needed, then click 'Next'.
Step 3 - Preview & QA
In order to make sure that the experience is working properly prior to publishing, we highly recommend running a QA session using our preview feature.
- Click on ‘Preview’ → ‘Share’ → ‘Copy Link’.
- Use this link on a mobile device and browser for a more accurate insight (we recommend running this test on an incognito session, in order to clear up any cookies that might impact the process).
- For more information about running quality assurance via Visually, check out this article.
Step 4 - Finalize & Publish
We recommend conducting an A/B validation to evaluate the impact of this experience on your store's performance.
To begin → click on ‘Next’.
Initiate an A/B test → navigate to section 3 and select ‘Yes, sure’.
Name your variation(s) → we suggest naming variations based on the hypothesis you’re testing and how they differ from each others, such as:
- Original / BFCM
- Below CTA / Above CTA
- BFCM 24 / WELCOME10
- Auto-apply / Manual-apply
Determine the allocation → we suggest starting with a 50/50 split to obtain results quickly and reliably.
- If you prefer to conduct a preliminary sanity check, consider a 80/20 allocation for initial validation, then transition to 50/50 for comprehensive testing.
- Keep in mind that achieving statistical significance may take several days, especially with lower allocations. For guidance on analyzing and monitoring your A/B tests, refer to this article.
Set the metric goals → click on ‘+’ to select goals → for this experience, we recommend the following KPIs:
- Conversion Rate
- Average Order Value
- Per Session Value
- Checkout Rate
Set the primary metric → we recommend setting ‘Conversion Rate’.
Send metrics to GA4 (optional) → check the box for ‘Send events to Google Analytics’.
Publish the experience → click on ‘Publish’ and confirm when ready.


 Watch our step-by-step walkthrough video
