Prediction
By utilizing a quick navigation section on the homepage, we will help shoppers to find what they are looking for with ease, and as a result, we will see more shoppers convert.
 |
Potential uplift of 4% to 8% in CR. |
Setting up the experience on Visually
BUILD TIME: 3 MINUTES
Step 1 - Set the scope
Define the conditions required to trigger the experience. Ensure your defined scope is accurate, as a broader scope can dilute data by including unaffected sessions.
Audience → make sure that this parameter is set to ‘All Visitors’
Pages → set to ‘Homepage’
Devices → set to 'Mobile Only'
Trigger → make sure that this parameter is set to 'Page Load'
Step 2 - Set the changes
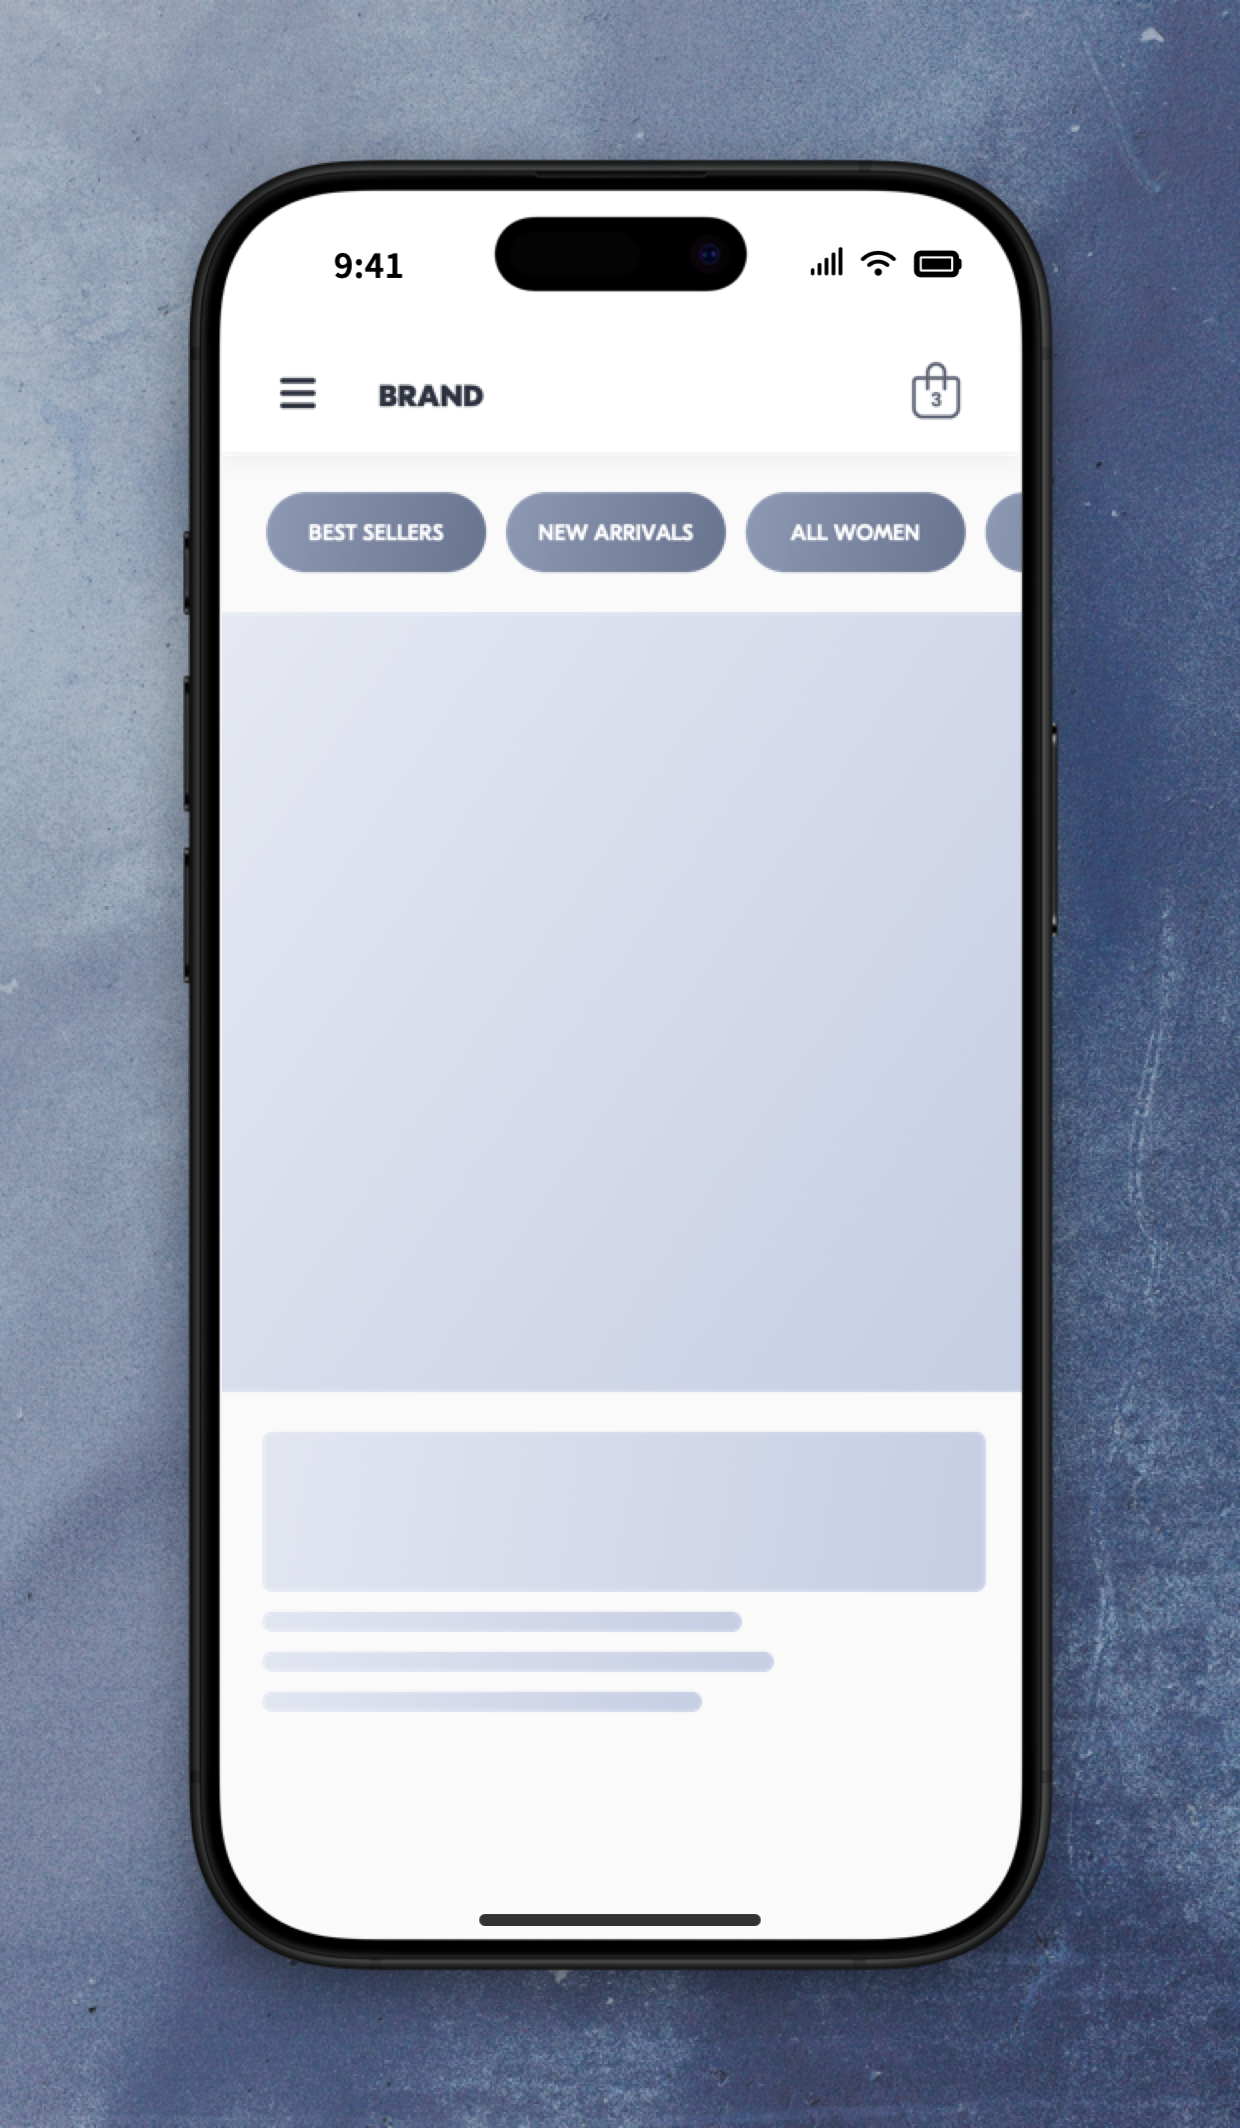
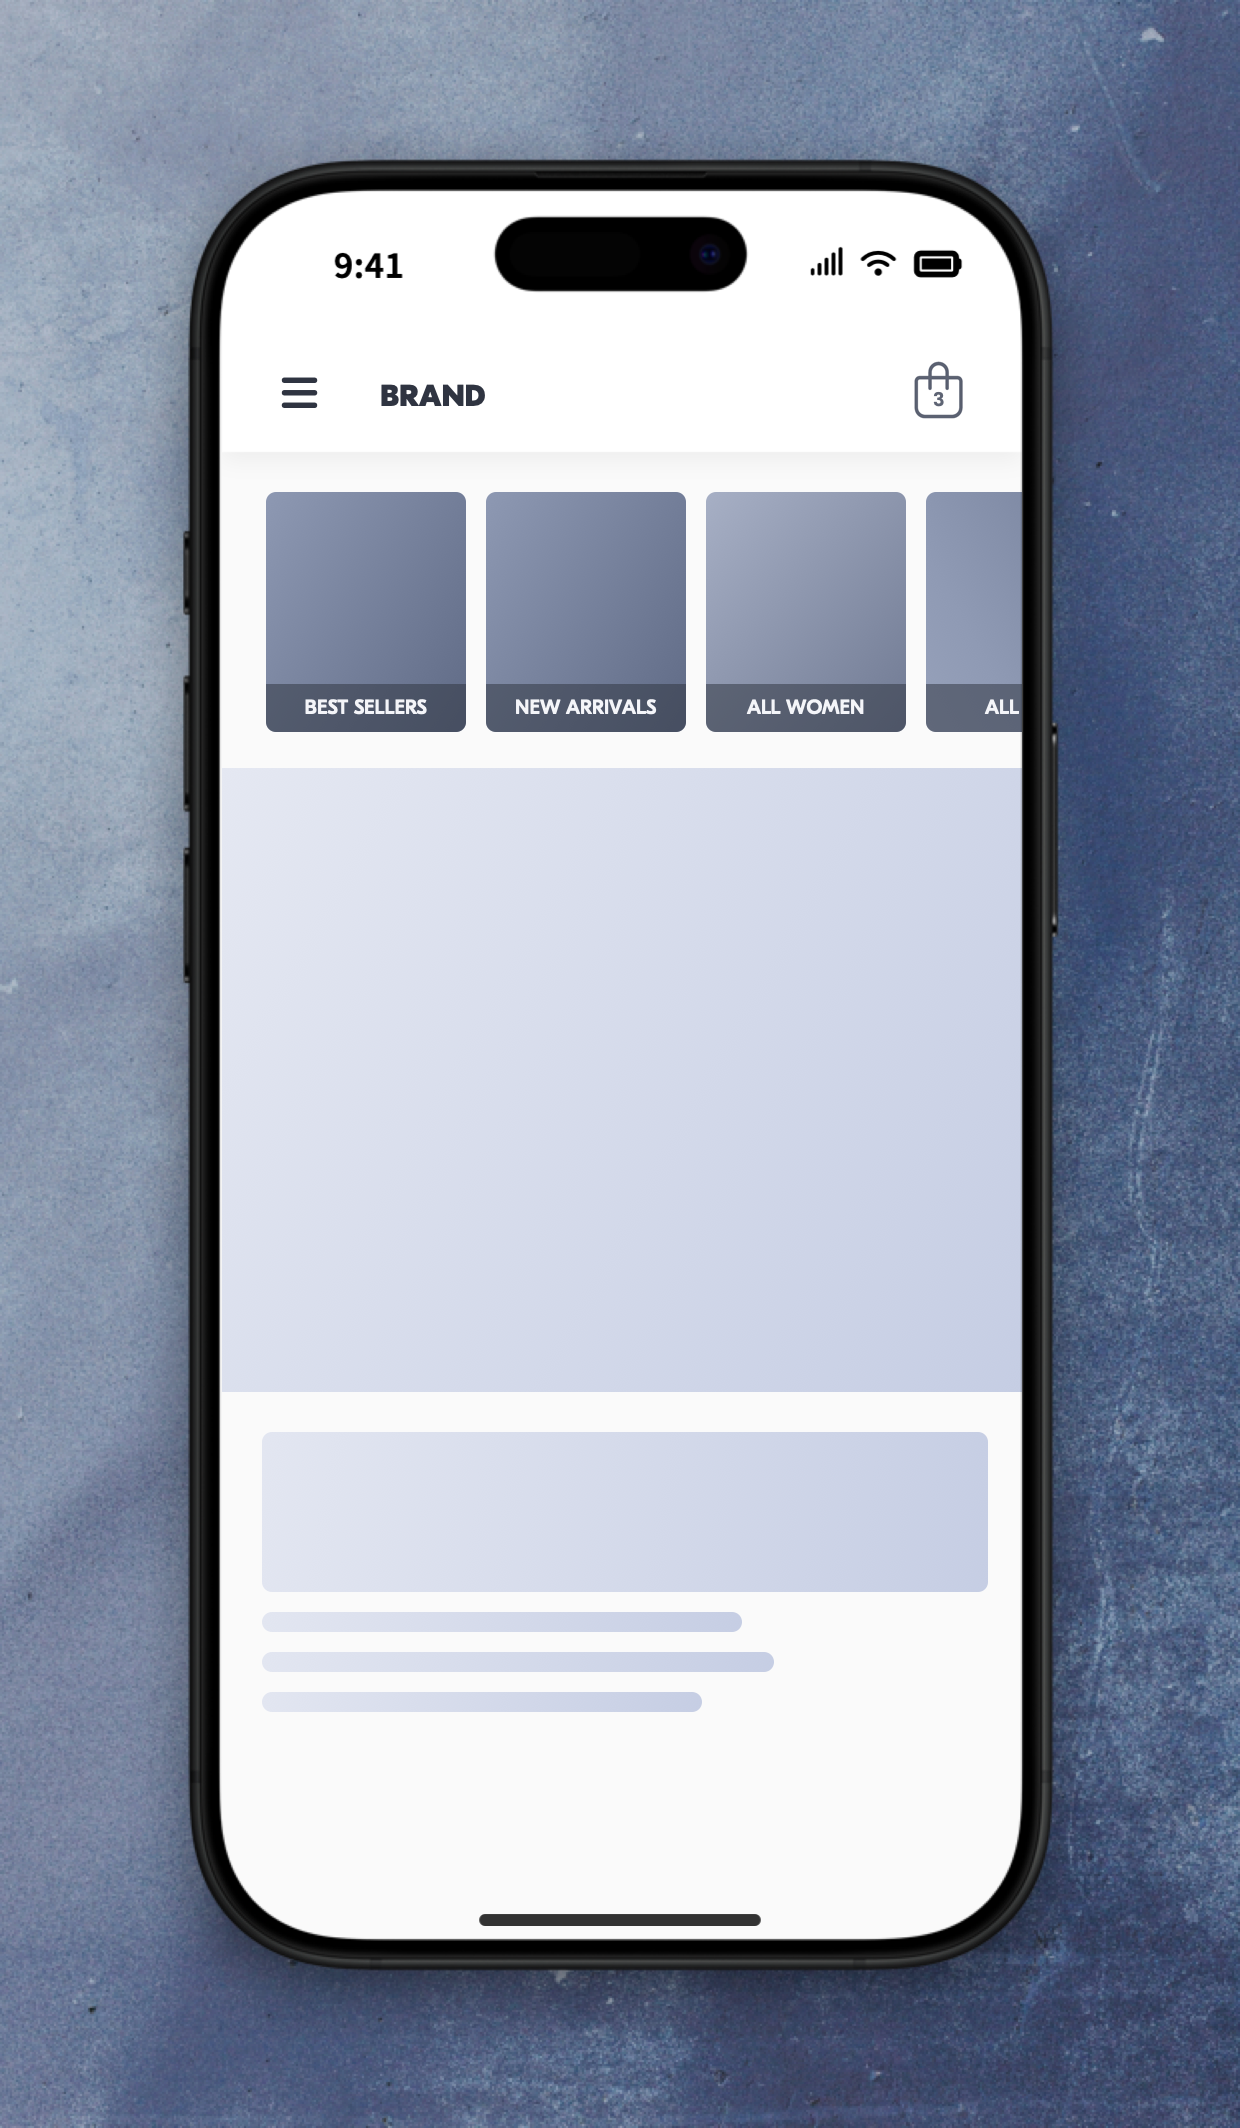
Add a content block → select a position below the main navigation → select ‘Content Blocks’ → select ‘Chips Sticks’.


Set the links → over the ‘Content’ section, set the names and links to the collections you wish to include in this experience.


Adjust the style → ensure that the changes’ styling align with your brand identity.You can also save your styles for future use.
For more on reusing styles, refer to this article.

Save and name the experience → you can also provide a description → click 'Next' to confirm.
Step 3 - Preview & QA
In order to make sure that the experience works as intended, we highly encourage you to perform a quality assurance (QA) session using our 'Preview' feature.
-
Click on ‘Preview’ → ‘Share’ → ‘Copy Link’
-
Open the link on the specific device(s) you intend to test. For the best results, we suggest using incognito mode to ensure a clean session without any prior browsing history or cached data.
For additional guidance on performing quality assurance with Visually, please refer to this article.
Step 4 - Finalize & Publish

We strongly suggest starting with an A/B test to assess how this experience affects your store's performance.
-
Click on ‘Next’ to begin.
-
Initiate an A/B test → navigate to section 3 and select ‘Yes, sure’.
-
Name the variation(s) → we recommend that you name the variations according to the specific hypothesis you’re testing, for example:
-
Original / Chips
-
Original / Below Nav
-
Chips / Images
-
Below Nav / Below HB
-
White BG / Black BG
-
-
Set the allocation → we suggest starting with a 50/50 split to obtain results quickly and reliably.
If you prefer to conduct a preliminary sanity check, consider a 80/20 allocation for initial validation, then transition to 50/50 for comprehensive testing.
Keep in mind that achieving statistical significance may take several days, especially with lower allocations. For guidance on analyzing and monitoring your A/B tests, refer to this article.
-
Set the goals → click on ‘+’ to select goals → for this experience, we recommend the following KPIs:
-
Conversion Rate
-
Average Order Value
-
Per Session Value
-
Product Details View Rate
-
Click-Through-Rate (CTR)
-
-
Set the primary goal → we recommend using ‘Conversion Rate’ for this test.
-
Publish the experience when ready!
|
There is a Potential uplift of 3% to 10% in PSV. |

 Watch: Step by step walkthrough video
