Replace the main banner with a slider to highlight various promotions

Experience Hypothesis:

Implementing a slider for various promotions on the main banner will enhance the user experience by providing a dynamic and interactive element, thereby increasing time spent on the site and improving engagement metrics.

Experience Assumptions:

  1. User Engagement: Users prefer interactive elements such as sliders that allow them to easily access multiple promotions, which increases their likelihood of engaging with the content.

  2. Visual Appeal: A slider with visually appealing graphics and smooth transitions will attract more attention than a static image, making the site more vibrant and modern.

  3. Content Accessibility: Users find it more convenient to explore different promotions through a slider, as it consolidates offers in one place without requiring navigation from the homepage.

  4. Attention Retention: A slider's dynamic nature (as opposed to a static banner) keeps users interested for longer periods, potentially leading to deeper exploration of the site’s content and offerings.

Setting up the experience on Visually

(Build time: ~5 minutes)


1. Click on 'Create New Experience'.


2. Under 'Pages' > select 'Homepage'.


3. Under 'Devices' > select either 'Desktop', 'Mobile', or 'All Devices'.


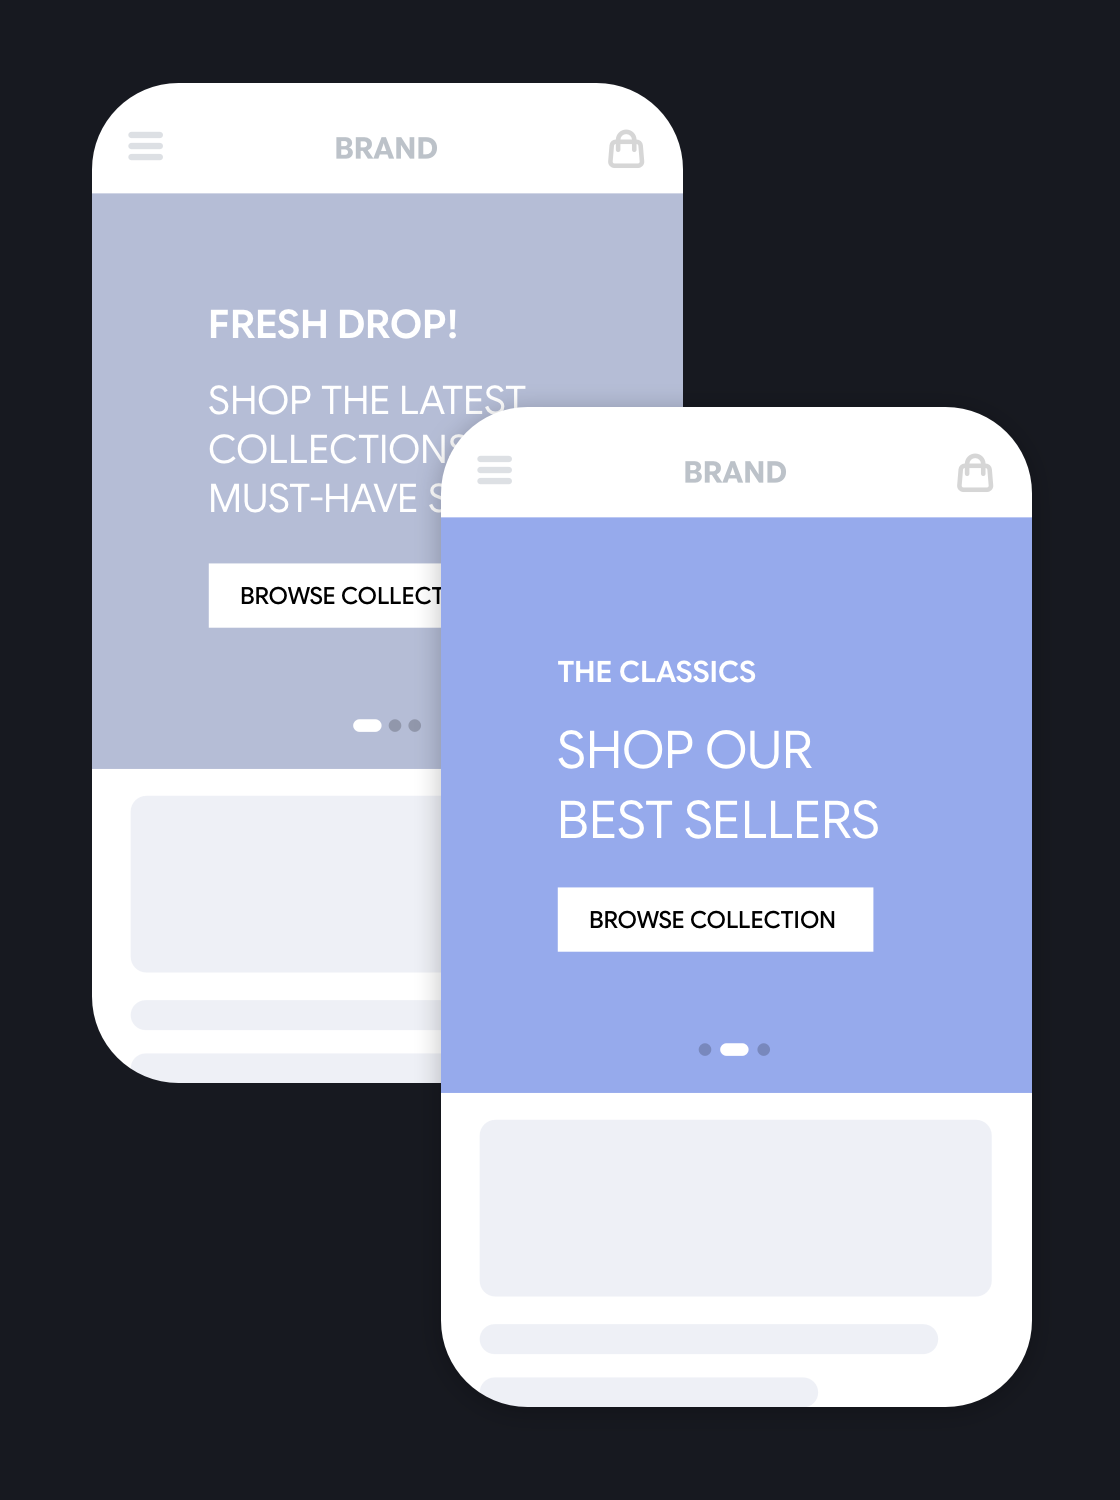
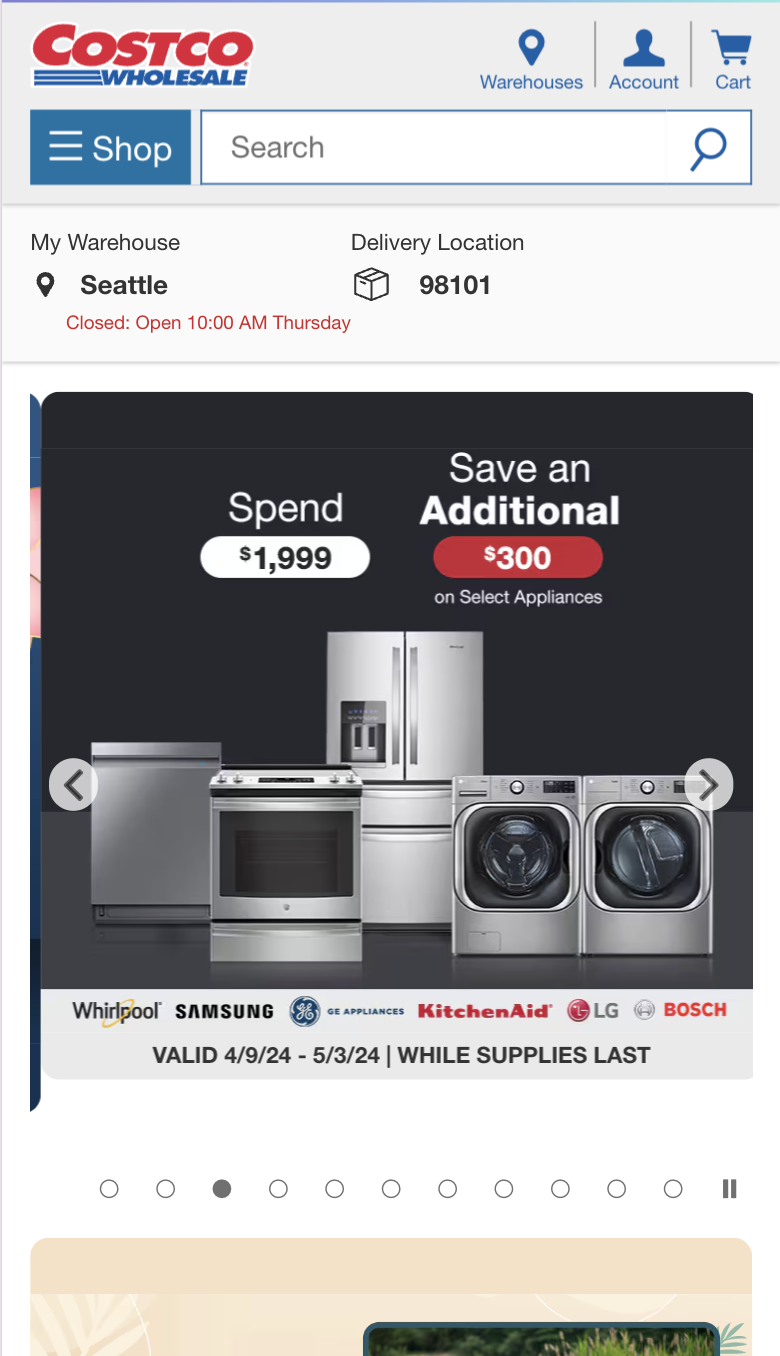
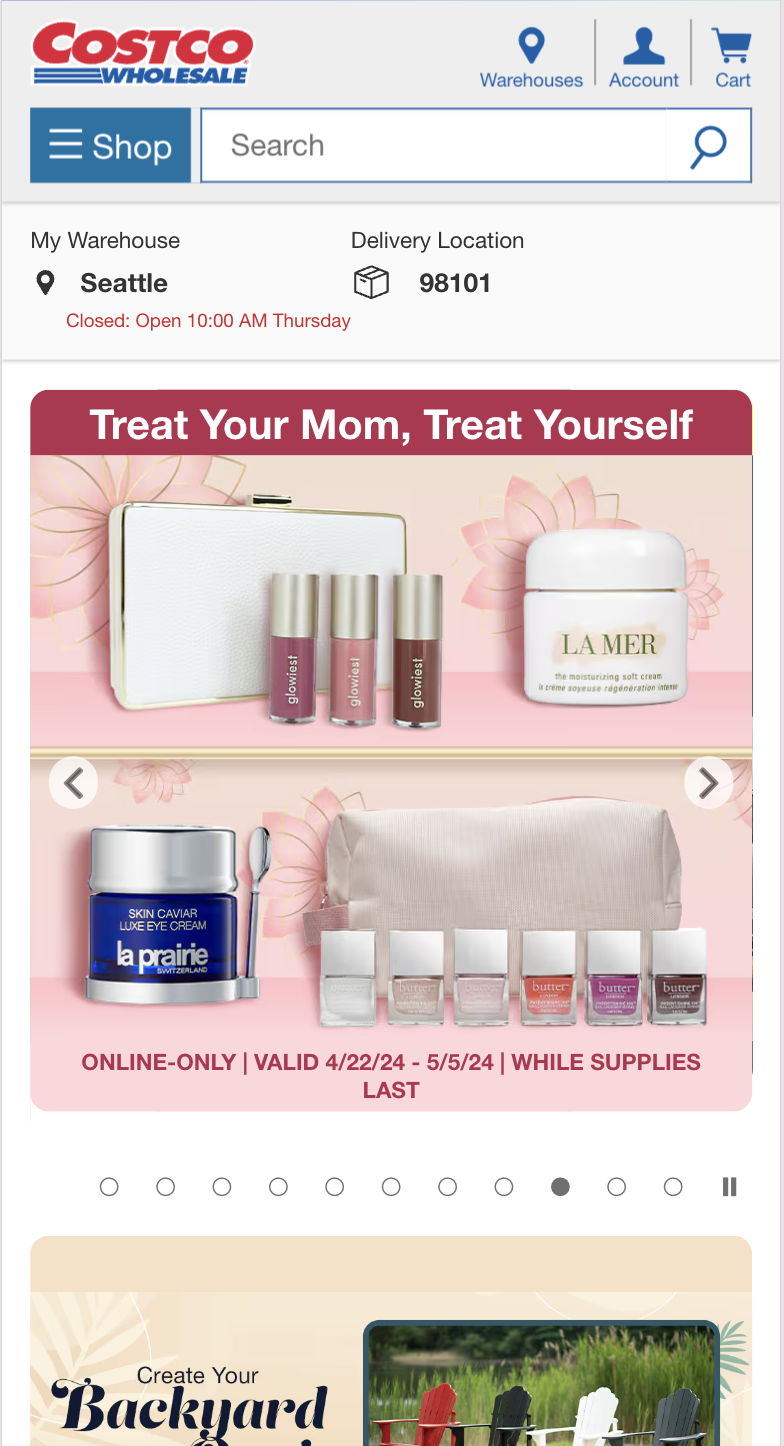
4. In the preview window, hover above the hero image > select 'Replace' > 'Content Blocks' > 'Carousel'.


5. Select the amount of slides to display and the autoplay setting (you can always adjust it later).


6. In the "Quick Edit" section, add the content you want for each slide, such as text, high quality images, and links.


7. Adjust the design. You can either customize manually or select a previously used or saved style.

Here you can learn more about re-using your styles.


8. Once you're done, click on 'Save'.


9. Make sure to preview the experience to make sure it’s running properly. If you're running the experience on mobile, you can preview it on a mobile device using a generated link by clicking on Preview > Share > Copy Link, and opening the link on your phone. 

Click here to learn more about our preview feature.


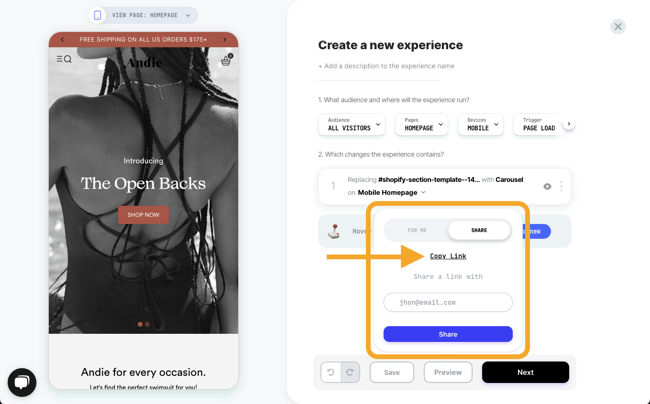
10. Remember to name and save.


11. You’re all set! click on the next button to publish.


12. Choose if you want to run this experience as an A/B test, or schedule the experience to launch at a specific date and time.


13. Click on 'Publish' once you’re done.


Group 16 Following these steps, you can increase the Conversion Rate by showcasing cart items for returning visitors, with a potential uplift of 2% to 10% for this specific audience.


u33
u33

Checkout how leading brands are exemplifying this experience

Screenshot 2024-01-15 at 11.54.31 Watch: step-by-step walkthrough video play