Leverage social proof on your checkout page
Description
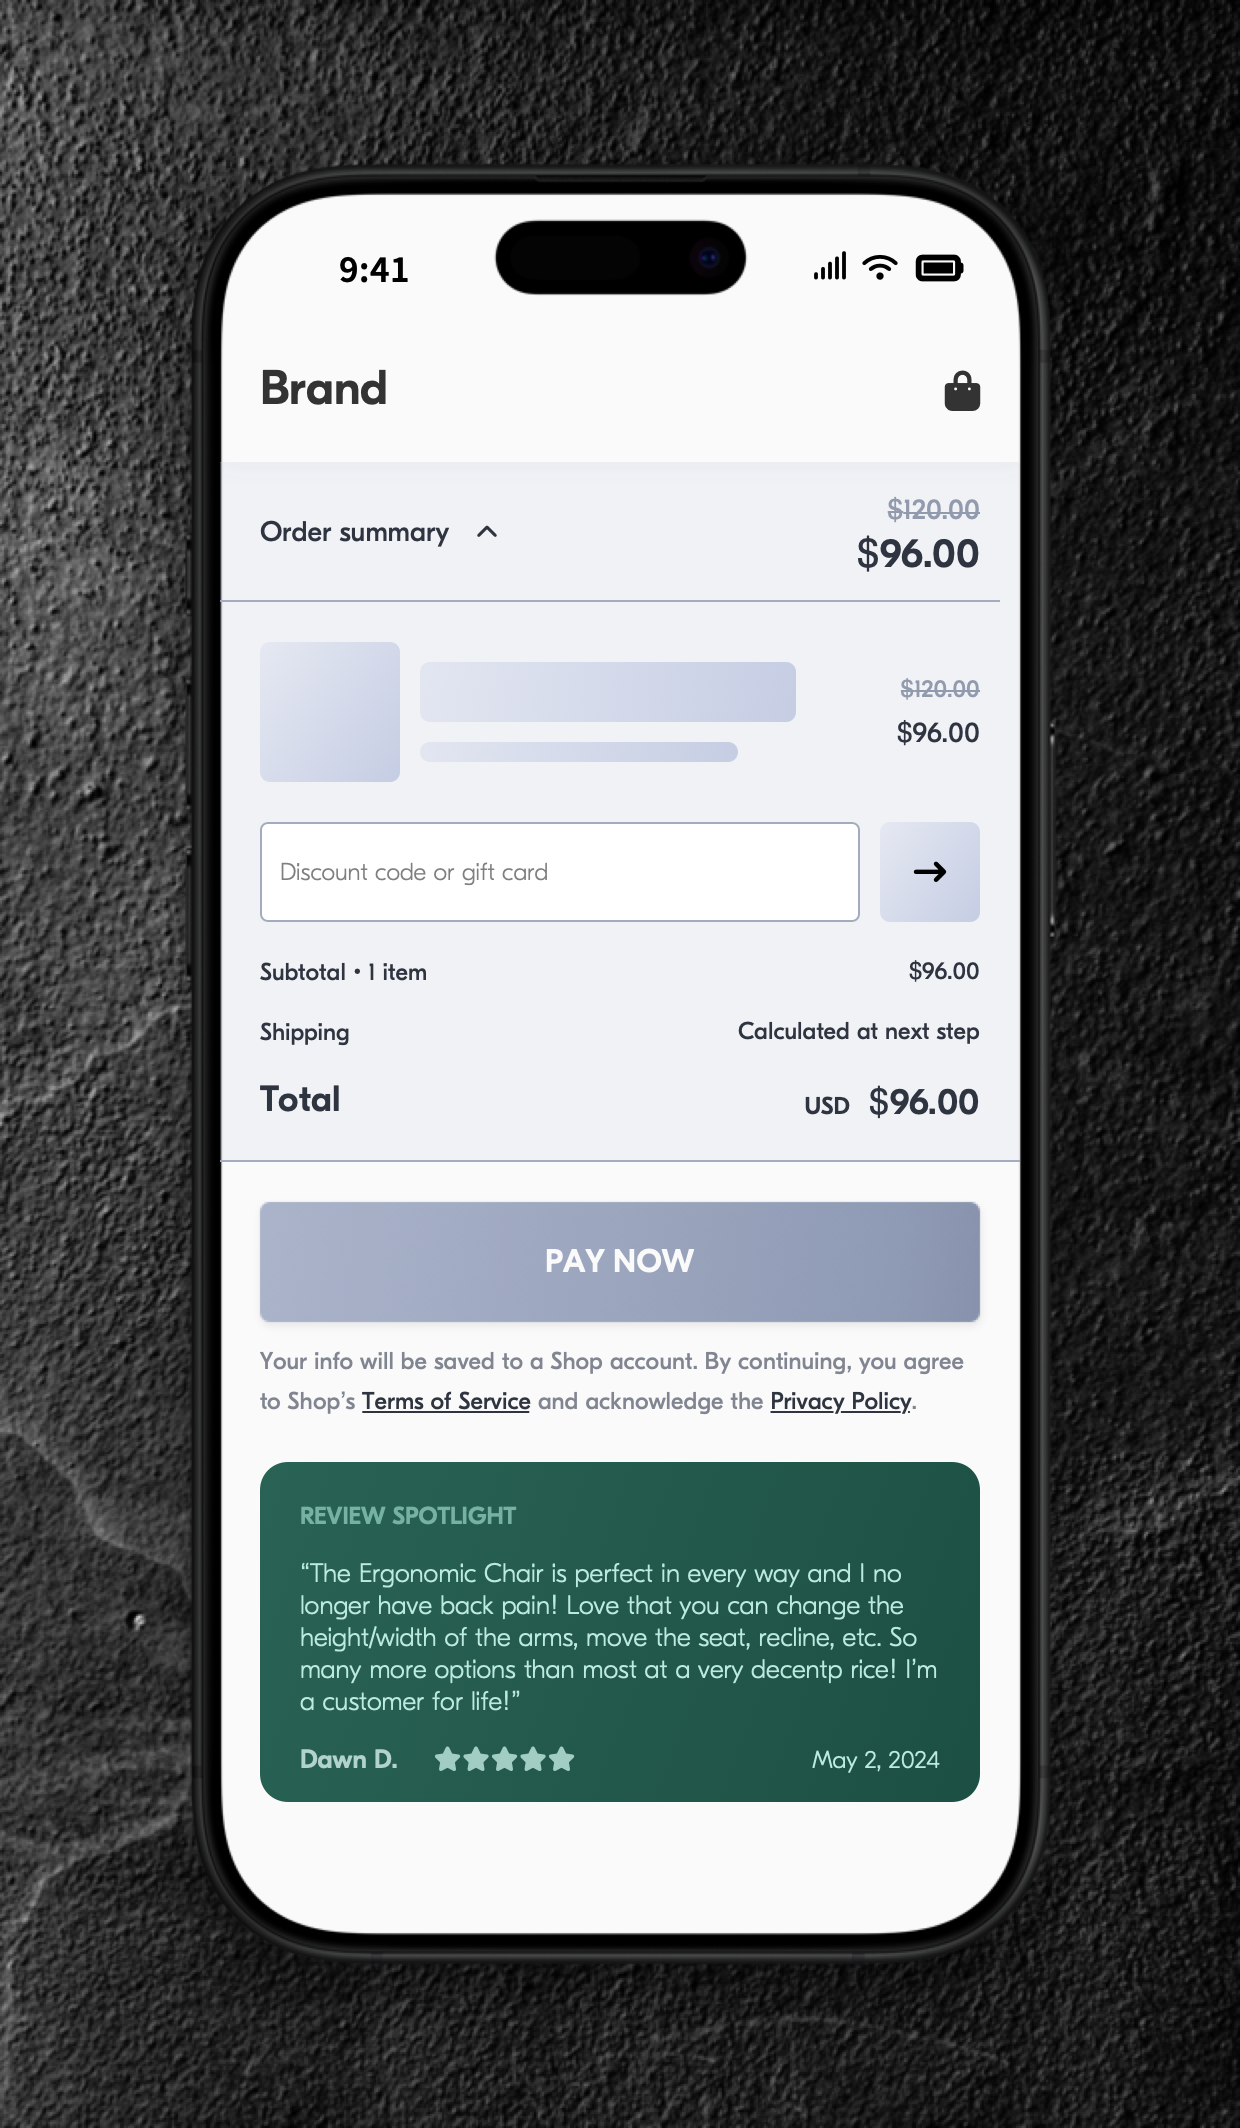
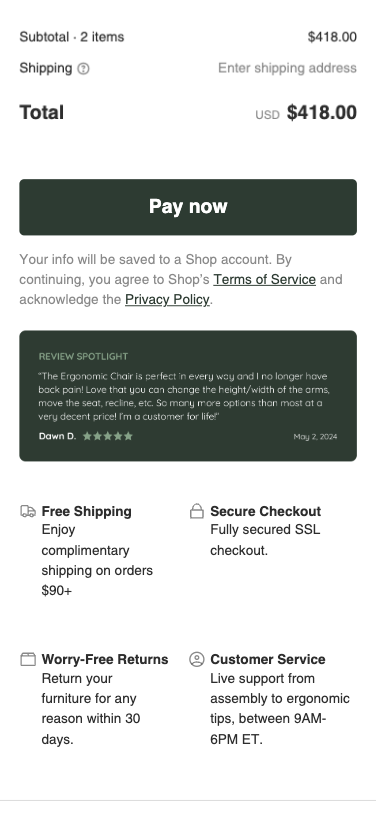
Highlight a meaningful review on your checkout page.
Hypothesis
When making purchase decisions, shoppers often lean on social proof, valuing feedback and testimonials from real people.
Prediction
Highlighting top-rated reviews, user-generated content, or customer testimonials at checkout will provide the final boost of confidence shoppers need before clicking the "Place Order" button on checkout, ultimately driving higher engagement and sales.
 |
Potential uplift of 10% to 17% in CR. |
Setting up the experience on Visually:
BUILD TIME: 2 MINUTES
Step 1 - Set the scope
Define the conditions required to trigger the experience. Ensure your defined scope is accurate, as a broader scope can dilute data by including unaffected sessions.
Audience → make sure that this parameter is set to ‘All Visitors‘.
Pages → set to ‘Checkout‘.
Due to standards set by Shopify in regards to the checkout process, you’ll need to add a content block via your Shopify’s dashboard in order to create experiences for your checkout page. For more information, refer to this article.
Devices → make sure that this parameter is set to ‘All Devices’.
Step 2 - Set the changes
Have an image ready → Due to the limitations imposed by Shopify, customer reviews can only be displayed on the checkout page as a static image. A small image banner that will be featured in this section needs to be created on your end.
To ensure optimal image quality across all devices and screen sizes, we recommend creating an image with a minimum width of 600 pixels.
Add a content block → select the desired position for the review image → click on ‘Content Blocks’ → click on ‘Image’
Set the content block → add the desired image → make visual adjustments if desired → click on ‘Save’.
Apply to all devices → this will ensure that the review will be shown for all screens and devices.
Save and name the experience → you can also provide a description → click 'Next' to confirm.
Step 3 - Preview & QA
In order to make sure that the experience works as intended, we highly encourage you to perform a quality assurance (QA) session using our 'Preview' feature.
-
Click on ‘Preview’ → ‘Share’ → ‘Copy Link’
-
Open the link on the specific device(s) you intend to test. For the best results, we suggest using incognito mode to ensure a clean session without any prior browsing history or cached data.
For additional guidance on performing quality assurance with Visually, please refer to this article.
Step 4 - Finalize & Publish
We strongly suggest starting with an A/B test to assess how this experience affects your store's performance.
-
Click on ‘Next’ to begin.
-
Initiate an A/B test → navigate to section 3 and select ‘Yes, sure’.
-
Name the variation(s) → we recommend that you name the variations according to the specific hypothesis you’re testing, for example:
-
Original / 1 review
-
Original / Below total
-
1 review / 2 reviews
-
Below total / Below summary
-
-
Set the allocation → we suggest starting with a 50/50 split to obtain results quickly and reliably.
If you prefer to conduct a preliminary sanity check, consider a 80/20 allocation for initial validation, then transition to 50/50 for comprehensive testing.
Keep in mind that achieving statistical significance may take several days, especially with lower allocations. For guidance on analyzing and monitoring your A/B tests, refer to this article.
-
Set the goals → click on ‘+’ to select goals → for this experience, we recommend the following KPIs:
-
Conversion Rate
-
Average Order Value
-
Per Session Value
-
-
Set the primary goal → we recommend using ‘Conversion Rate’ for this test.
-
Publish the experience when ready!


 Watch our step-by-step walkthrough video
