Upsells With a Progress Bar
Description
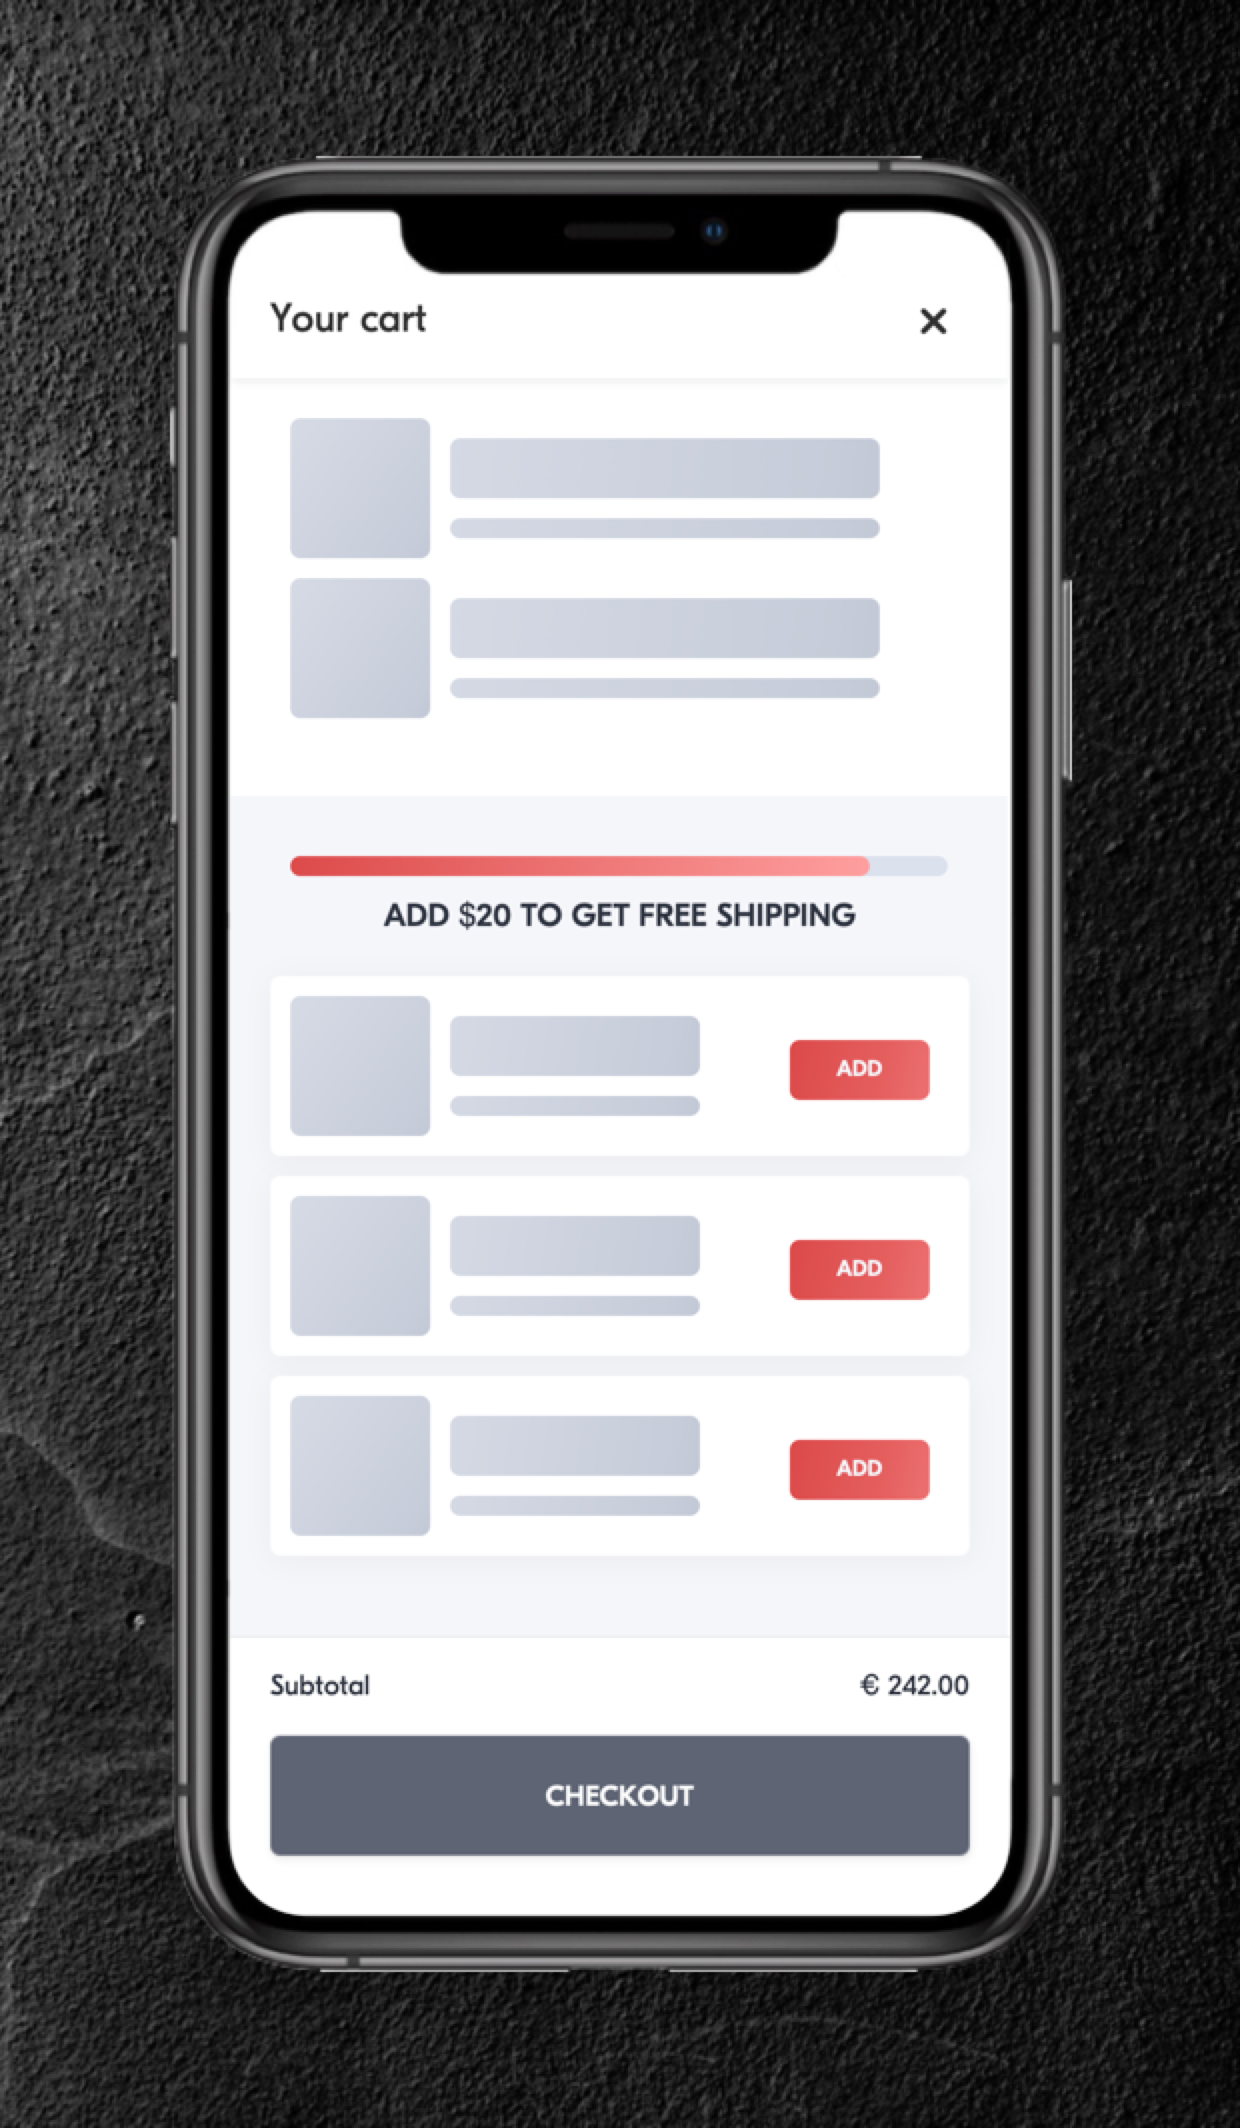
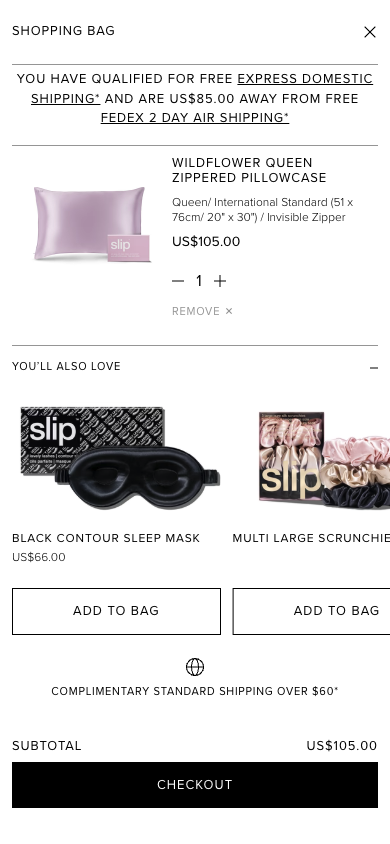
Incorporate a progress bar alongside the upsells widget to create a compelling incentive for shoppers to increase their cart total.
Hypothesis
If the cart total falls short of the promotion's threshold, personalized upsell recommendations can motivate shoppers to add more products by showing relevant options and the amount needed to reach the threshold.
This approach highlights complementary products while creating urgency by showing shoppers how close they are to unlocking a special offer or discount.
Prediction
Since shoppers can visualize how close they are to reaching an incentive threshold, they’re encouraged to add additional products without having to navigate away from their current cart.
 |
Potential uplift of 10% to 13% in AOV. |
Setting up the experience on Visually:
BUILD TIME: 10-15 MINUTE
Step 1 - Set the scope
Start by defining the conditions required for the experience to activate.
Please keep in mind that the reports will gather data based on the defined scope, so accuracy is key. Setting a scope larger than required can dilute the data by including sessions which weren’t actually impacted by the changes.
Audience → select 'Custom Audience' → set the following condition:
CART ITEMS COUNT : GREATER THAN : 0
Feel free to modify the audience parameters based on the specific coupon/strategy to ensure that only eligible sessions are included. This will help you gather more precise data and insights.
Pages → ensure that this parameter is set to 'All Pages'.
Devices → select 'Mobile Only'.
Trigger → ensure that this parameter is set to 'Page Load'.
Step 2 - Set the content
Prepare the editor → open the cart drawer and verify that the preview window shows at least two items in the cart.
Additionally, remove any existing dynamic progress bars and non-critical widgets for optimal performance and analysis.
Set up the progress bar → position the widget below the cart items block, ensuring that you select the block containing all cart items, not just the last one → select 'Content Blocks' → select 'Free Shipping Bar'.
Configure the progress bar → set the currency, threshold, and messages for each state, utilizing $value as a variable that represents the amount needed to reach the threshold → click 'Save' when you’re done.
Set up the upsell widget → position it below the free shipping bar by clicking on the ellipsis next to the 'Free Shipping Bar' change → select 'Add After' → choose 'Products Upsells' and select your desired layout.
Configure the upsell widget → set parameters such as the number of products to display, the 'show more' button, the 'add to cart' button, the zoom button, and product reviews, according to your preferences.
Including an 'ADD TO CART' button is strongly recommended.
Configure the strategy → if this is your first iteration, we suggest using the 'Most Popular' strategy.
In order to encourage shoppers to reach the threshold (whether for free shipping or another promotion), add a rule to display items complementing the required amount.
Click on 'more filters', then '+AND', and add the following rule:
FREE SHIPPING GOAL : IS : [ set threshold ]
Additionally, you can add another rule to only display products from complementary collections, such as accessories. Click on '+AND' and add the following rule:
PRODUCTS FROM COLLECTIONS : IS : [ set collection ]
Over time, we encourage you to refine, test, and segment different strategies and audiences to further improve upon the initial hypothesis by taking advantage of our ‘Advanced Ruling’ feature.
Click on 'Save' to confirm your settings.
Tailor the design → adjust the design of both widgets to your brand identity. It is advisable to save your styling selections for future use.
For more information on reusing styles, refer to this article.
Apply changes to all pages → ensure that all modifications are set to display on 'Mobile All Pages' so that the experience is consistently applied on every page.
Finalize → click on 'Save', assign a name to your experience, provide a description if needed, then click 'Next'.
Step 3 - Preview & QA
To ensure that the experience functions correctly before publishing, we strongly recommend conducting a quality assurance (QA) session using our ‘Preview’ feature.
- Click on ‘Preview’ → ‘Share’ → ‘Copy Link’
- Use this link on the target device(s) for more accurate insights. For optimal results, we suggest running this test in incognito mode to eliminate any cookies that may influence the testing process.
- For additional guidance on performing quality assurance with Visually, please refer to this article.
Step 4 - Finalize & Publish
We recommend conducting an A/B validation to evaluate the impact of this experience on your store's performance.
To begin → click on ‘Next’.
Initiate an A/B test → navigate to section 3 and select ‘Yes, sure’.
Name your variation(s) → we suggest naming variations based on the hypothesis you’re testing and how they differ from each others, such as:
- Original / Best Sellers
- Original / Accessories
- Accessories / Best Sellers
- Free shipping / Free gift
- Bar on top / Bar on bottom
Set the allocation → we suggest starting with a 50/50 split to obtain results quickly and reliably.
- If you prefer to conduct a preliminary sanity check, consider a 80/20 allocation for initial validation, then transition to 50/50 for comprehensive testing.
- Keep in mind that achieving statistical significance may take several days, especially with lower allocations. For guidance on analyzing and monitoring your A/B tests, refer to this article.
Set the metric goals → click on ‘+’ to select goals → for this experience, we recommend the following KPIs:
- Conversion Rate
- Average Order Value
- Per Session Value
- Checkout Rate
- Profit
- Product Details Views Rate
Set the primary metric → we recommend setting ‘Average Order Value’.
Send metrics to GA4 (optional) → check the box for ‘Send events to Google Analytics’.
Publish the experience → click on ‘Publish’ and confirm when ready.


 Watch our step-by-step walkthrough video
