Highlight Unique Selling Propositions
Description
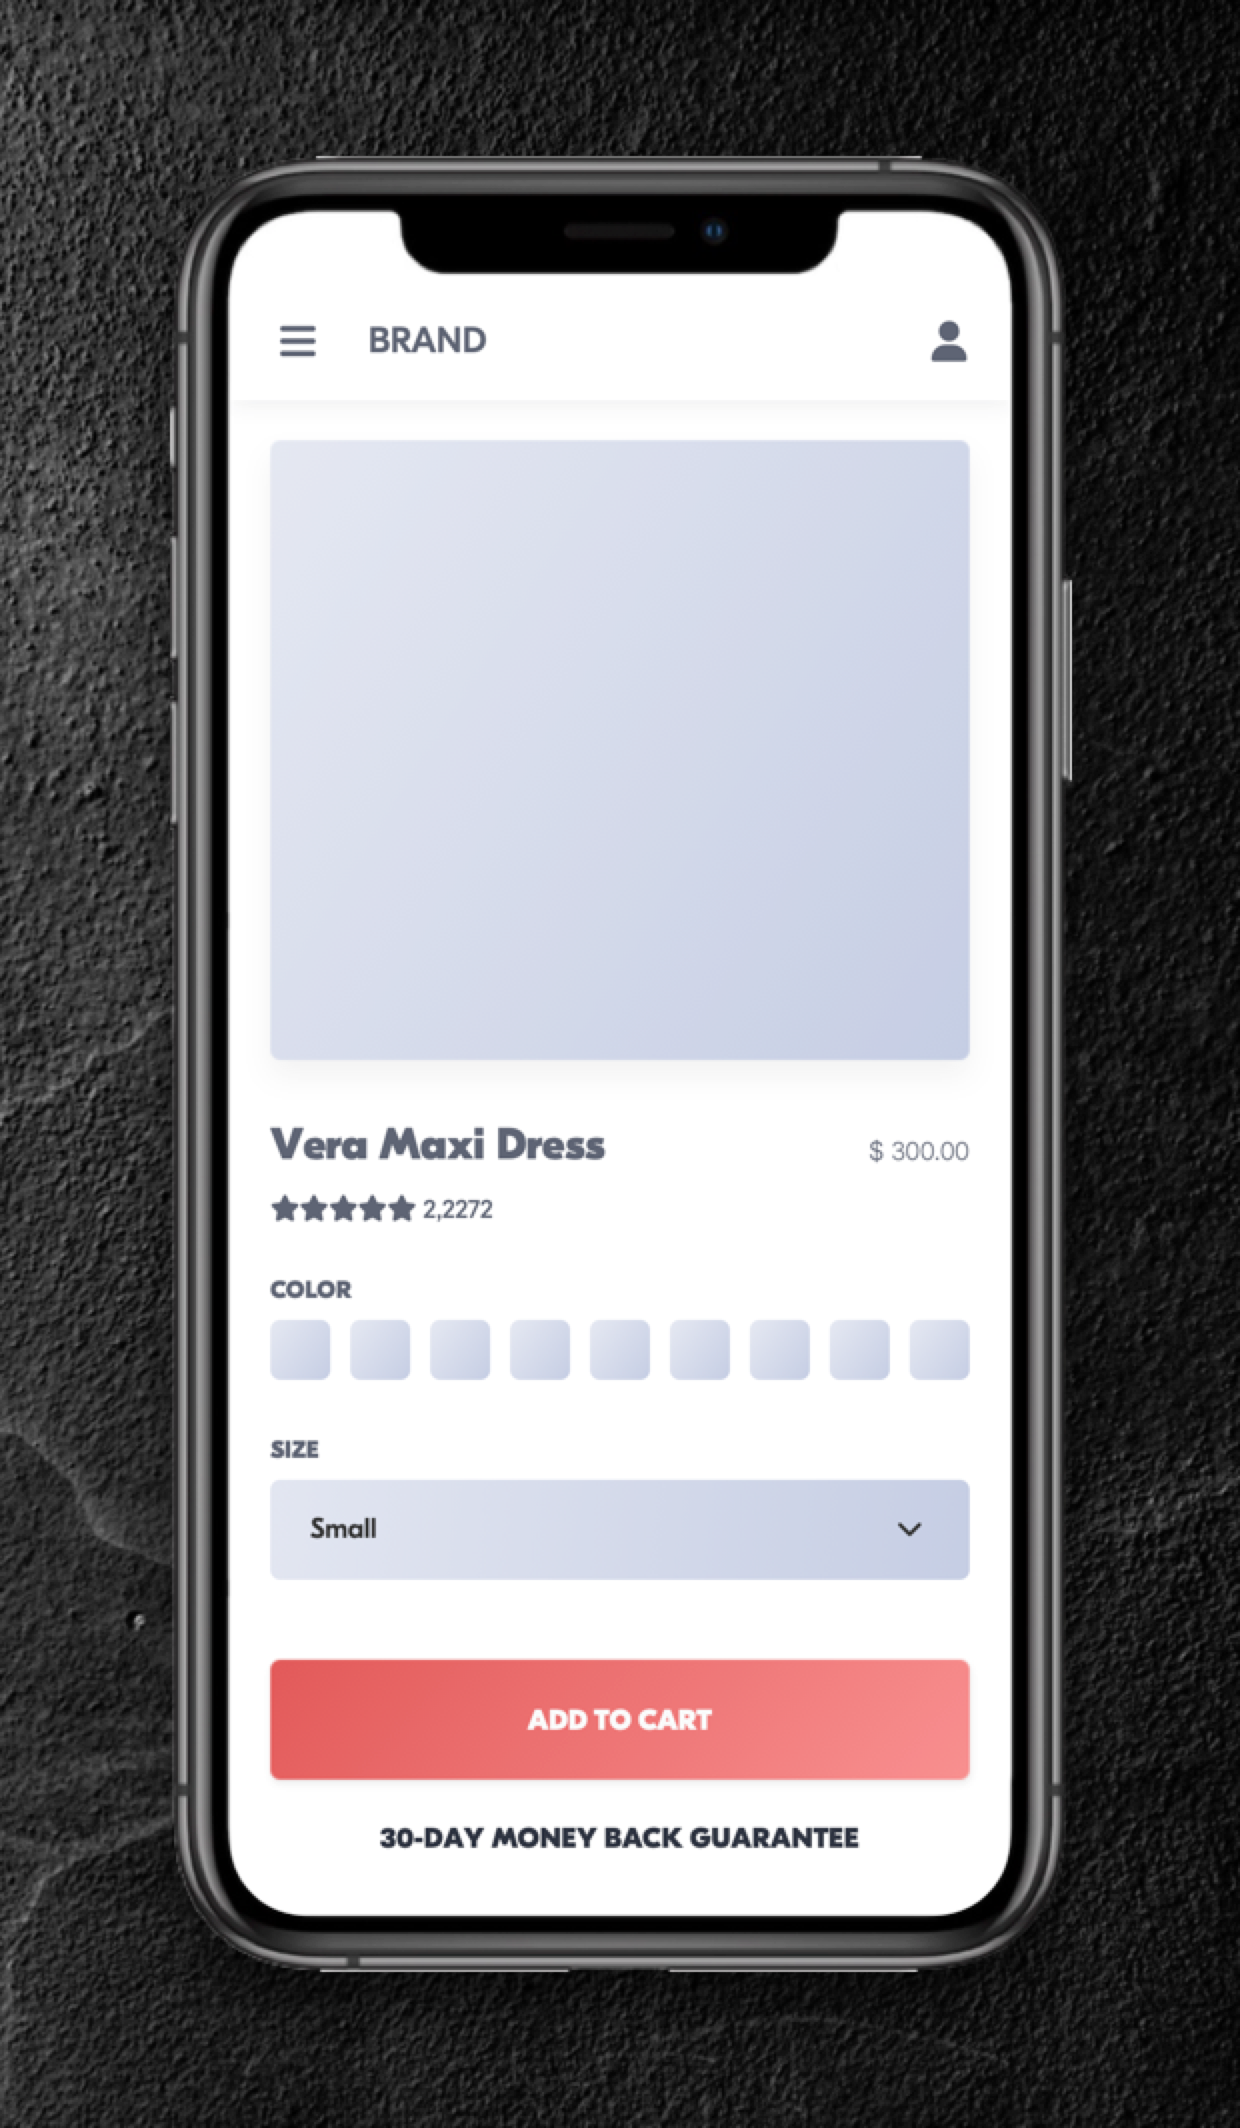
Personalize the unique selling propositions on product pages for first time shoppers
Hypothesis
Certain messages can significantly influence conversion rates, depending on the stage of the shopping journey the shopper is in, for example:
- During the awareness stage, shoppers are just beginning to explore their options and may respond positively to informative content that highlights the benefits of a product or service.
- As they move into the consideration stage, targeted messaging that addresses specific pain points and compares different solutions can be effective in guiding their decision-making process.
- Finally, at the decision stage, persuasive messages that emphasize urgency, such as limited-time offers or low stock status, can help convert hesitant shoppers into buyers.
Prediction
By highlighting the strongest unique selling proposition (USP) tailored to each shopper segment, we effectively tackle their most pressing challenges at critical moments, resulting in a substantial increase in conversion rates.
 |
Potential uplift of 8% to 13% in CR. |
Setting up the experience on Visually:
BUILD TIME: 2 MINUTES
This experience is designed specifically for shoppers who have yet to make a purchase from your store. You are welcome to segment and customize this experience to cater to various audiences.
Step 1 - Set the scope
Start by defining the conditions required for the experience to activate.
Please keep in mind that the reports will gather data based on the defined scope, so accuracy is key. Setting a scope larger than required can dilute the data by including sessions which weren’t actually impacted by the changes.
Audience → set to ‘Never Purchased’.
Pages → set to ‘Product Pages’.
Devices → set to 'Mobile Only'.
Trigger → make sure that this parameter is set to 'Page Load'.
Step 2 - Set the changes
Find and remove existing message → once you locate the text you wish to replace, hover above it → click on ‘ Remove’.
Add a text block → click on ‘Add new’ → click on ‘Content Blocks’ → select the same position as the former message → click on ‘Text’
Set the text block → emphasize the message you want to convey to this particular user segment → click on ‘Save’
Tailor the design → align the design of the text block to fit your brand identity.
- We recommend using the same design as the text you replaced in order to avoid running more than one hypothesis on the first iteration.
- We also recommend saving your styling selections for future use. For more information on reusing styles, refer to this article.
Save the experience → click on 'Save' → assign a name to your experience → provide a description (optional) → click 'Next' to confirm.
Step 3 - Preview & QA
To ensure that the experience functions correctly before publishing, we strongly recommend conducting a quality assurance (QA) session using our ‘Preview’ feature.
- Click on ‘Preview’ → ‘Share’ → ‘Copy Link’
- Use this link on the target device(s) for more accurate insights.
For optimal results, we suggest running this QA in incognito mode to eliminate any cookies that may influence the testing process. - For additional guidance on performing quality assurance with Visually, please refer to this article.
Step 4 - Finalize & Publish
We highly recommend conducting an A/B validation to evaluate the impact of this experience on your store's performance.
To begin → click on ‘Next’.
Initiate an A/B test → navigate to section 3 and select ‘Yes, sure’.
Name your variation(s) → we suggest naming variations based on the hypothesis you’re testing and how they differ from each others, such as:
- Original / Returns
- Original / Free shipping
- Returns / Free shipping
- 13px / 15px
Determine the allocation → we suggest starting with a 50/50 split to obtain results quickly and reliably.
- If you prefer to conduct a preliminary sanity check, consider a 80/20 allocation for initial validation, then transition to 50/50 for comprehensive testing.
- Keep in mind that achieving statistical significance may take several days, especially with lower allocations. For guidance on analyzing and monitoring your A/B tests, refer to this article.
Set the metric goals → click on ‘+’ to select goals → for this experience, we recommend the following KPIs:
- Conversion Rate
- Average Order Value
- Per Session Value
- Add-to-cart Rate
- Checkout Rate
Set the primary metric → we recommend setting Conversion Rate.
Send metrics to GA4 (optional) → check the box for ‘Send events to Google Analytics’.
Publish the experience → click on ‘Publish’ and confirm when ready.


![M - PDP - USP [Never Purchased] [ALOYOGA]](https://143410811.hs-sites-eu1.com/hs-fs/hubfs/M%20-%20PDP%20-%20USP%20%5BNever%20Purchased%5D%20%5BALOYOGA%5D.png?width=390&height=844&name=M%20-%20PDP%20-%20USP%20%5BNever%20Purchased%5D%20%5BALOYOGA%5D.png)
 Watch our step-by-step walkthrough video
